Tuesday 31 May 2011


Khatalha served a commission as a corsair aboard the Kraken's Tempest - the Black Ark that first ferried Cynath across to the old world. Khathla came to prominence in Cynath’s court when, after his detachment of Corsairs had run down a Chariot manned by Characian White Lions, in lieu of the usual payment, he instead took the white Lion's pelt. A satisfactory trade for the loss of his right eye. Khatalha knew the pelt would be a potent symbol of command in developing his career, and was duly appointed captain of Cynath’s household guard when the despot prince took part in the grand invasion of Ulthan. 

- This backstory only developed when I found a spare Cloak from the old Korhil kit. 


Wednesday 25 May 2011


I assembled one of the squads with a lot of hellion parts. I love how feral the heads are, and I imagined my Archon offering the most vicious members of lower Commoragh a chance to serve in his weakened Kabal. Injecting new and vicious blood can never be a bad thing, can it?


Sigil of the Cult of the Flayed Prophet


Within Commoragh society I imagine there exists a whole plethora of cults, secret organisations, and abodes of sin. The warriors are already marked with all sorts of strange sigils, indicating their allegiances or past vices, so I thought I'd carry along this theme and sculpt flayed faces onto some of my warriors. Members of the pleasure cult of the flayed prophet must bear the mouth and eyes of a being considered holy to one of the prey species. This particular model has kept the face, adorning it on his right shoulder guard.


Human skin is in vogue with the Kabal of the Medusae now; especially when the human settlement is close to a Craftworld.


The Dark Eldar do this because they know that the seers will try and form a logic to their attacks and divine a pattern when, in truth, none exists save for the pleasure of torture.

LilLoser


What services do I offer? 

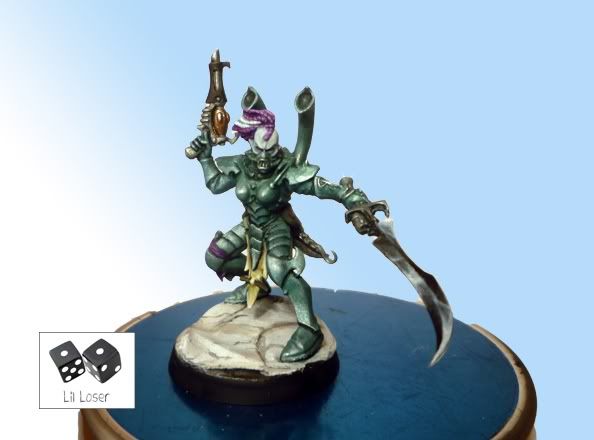
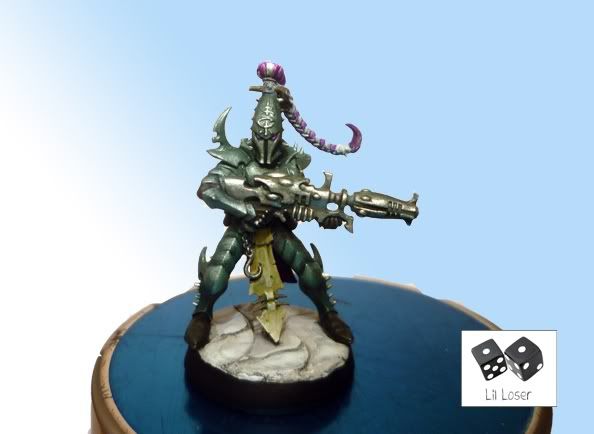
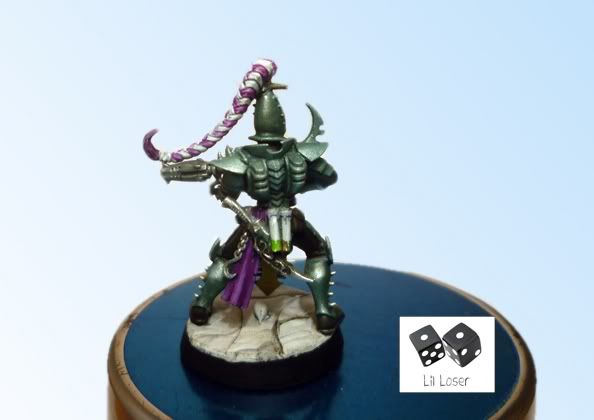
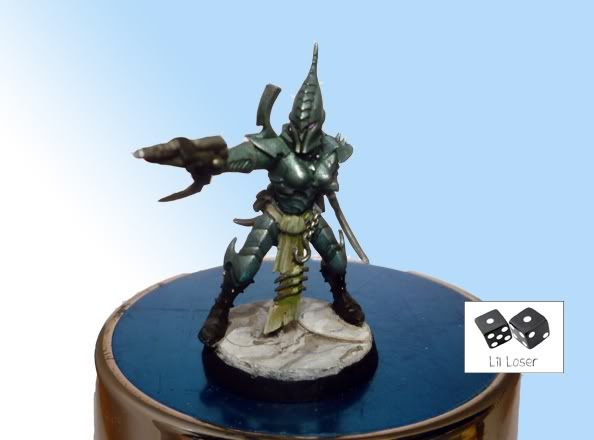
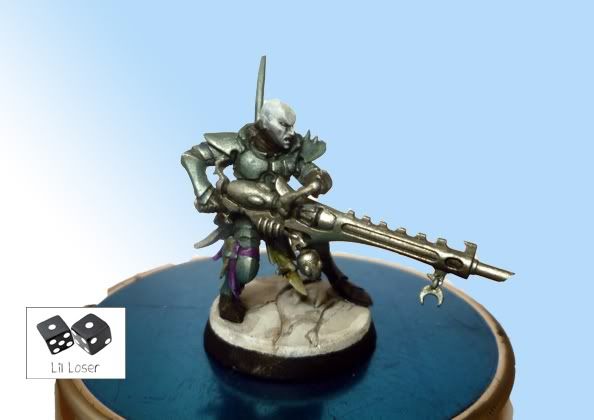
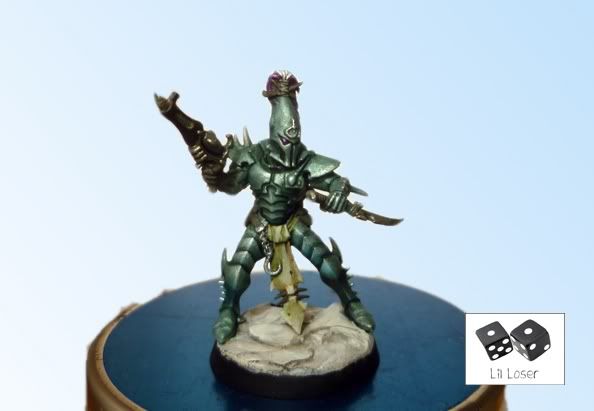
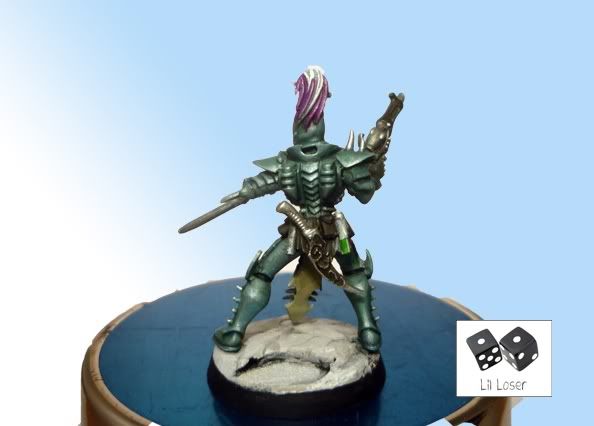
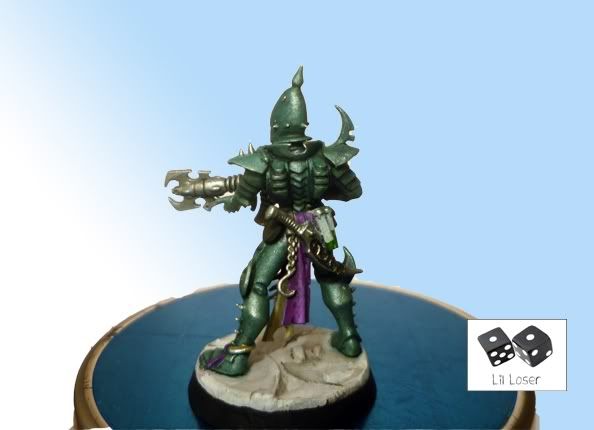
I specialise in producing bespoke pieces that cater to the connoisseur war game enthusiast. 

Have you ever had a desire to create a miniature from a piece of artwork?

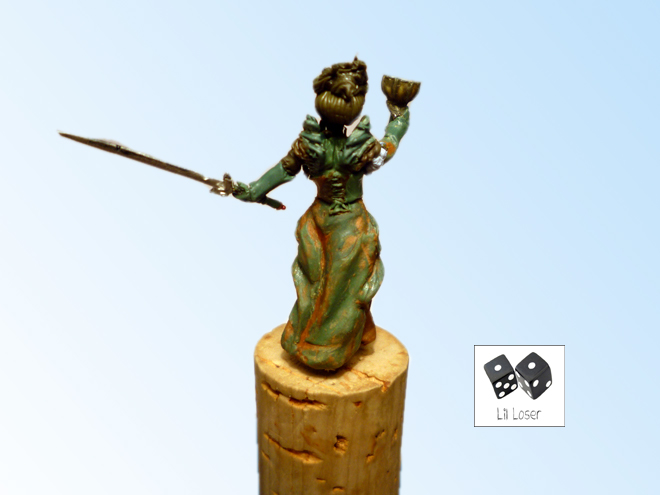
Do you have an awesome idea for your general model, but can't get to grips with greenstuff? 

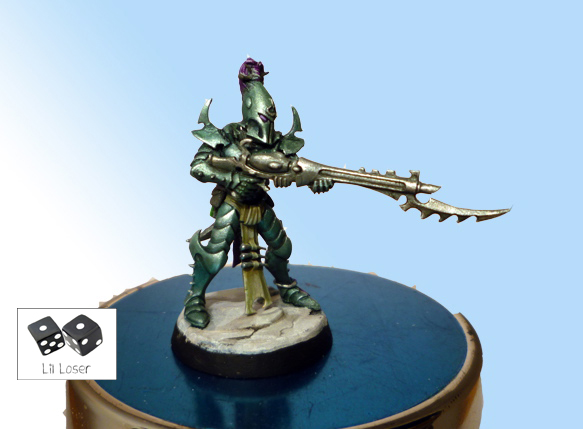
I can sculpt one of a kind pieces that you have a direct influence over. I can also paint these miniatures to your exact specifications, using any NMM, SNMM, airbrush or weathering techniques you may have read about. I have a distinctive style of painting that combines an 'Eavy Metal education alongside a classical education in Art and design.    


How to Start a Commission


1. Initial Contact

I like to break down any potential project as follows:


Design Brief

This is the consultation stage where I ask you lots of questions, share reference photos and tie down any important visual iconography that you wish to incorporate into the final product. The more varied the imagery we can summon, the better the outcome. 

As a rough guide please answer these questions when e-mailing me for the first time. 

- List the models you would like painted.
- Describe how you would like them painted (An ultramarine captain with freehand lion cloak for example).
- Inform me of your budget.
- Inform me whether or not you would like me to purchase the models on your behalf.
- Let me know if there are any deadlines. 


My e-mail address is :  


2. Deposit
-After you have e-mailed me the basic information I will reply with a quote and an estimated time frame for your project. 
- Once a deposit of 50% of the final fee is made I will book your project in and put you on the waiting list. THIS DEPOSIT IS NON REFUNDABLE and it is our discretion whether or not this is waived. 
- If I am buying models on your behalf then I will need the full amount for these materials plus any postage and packaging fee's that may be incurred before I buy them. 


3. Order your models

- If you order models through me the price is based on that company's current web price. For example, If I were to buy a box of Space Marines on your behalf it would cost this much before any shipping charges would be incurred. 

- If you are sending me your miniatures then I will inform 
you of my postal address.


* Please be aware that models lost in transit en route to me are not my responsibility so please use a recorded or tracked delivery service. *

4. Work commences! 

Models bought on your behalf will be ordered two weeks before the start date of the project. When it is time to begin your project I will keep you updated with regular progress pictures via e-mail or facebook updates. This helps me shape your vision of the model with regular criticism and input.


5. FINISHED PROJECT

When the project is finished I will send several photographs to check you are satisfied with the outcome. When you are happy with it I will post it to you by the agreed postage method.


6. Additional Costs
These are additional charges that may be incurred:


·      - Service charge: includes assembly and reconstruction of badly damaged models.
·      - Models or extra part.
·      - Postage
·      - 4.5% Paypal transaction fee
·      - Import tax (only when you send your models to me and only if this tax is incurred).


·  


"This website is completely unofficial and in no way endorsed by Games Workshop Limited.”

"This website is completely unofficial and in no way endorsed by Games Workshop Limited."

Friday 20 May 2011


This is my sculpt of the Vampire Bride, Isabella Von Carstien, based on the art work in the Vampire Counts Army book. 


The design brief for this model was pretty tight. The main object of the sculpt was to re-create the fantastic art work in the main army book. I altered her left arm to make the model more dynamic and authoritative when placed inside a unit. 


LilLoser

Thursday 19 May 2011


For just over a year I have been keeping a recipe book of colours and technique that I use to paint my miniatures. With some of the more complicated methods, such as true metallic metal (TMM) armour, I have been photographing each stage so that I can accurately re-create any effect I create. I have a habit of flitting between projects, so it is easy to forget every stage used when painting a model. This can become a huge problem when a colour scheme is needed across an entire army.

For the first episode of this infrequent series I would like to present the recipe I use for my TMM Dark Eldar Kabal. Becasue this is just a recipe book focusing in on particular techniques, I will not write up how I complete every stage on the model. This article is concerned with how I created the TMM armour.  


I tend to keep meticulous notes on each stage I paint on a model now, as well as note down any difficulties I had. TMM Dark Eldar presented a challenge I have been trying to overcome since I painted a TMM ultra marine as an experiment. Unlike non metallic metals (NMM) it is very hard to control the highlights on a surface because of the metallic pigment in the paint. I think that the the most important part of advice I could impart is to highlight up to mithril silver in the early stages, then no more. Once the model has been highlighted with the lightest silver paint you have, concentrate on glazing and inking shadows to achieve the overall result you wish. The highlight is already there after stage 3; from here you are re-introducing colour to the base coat.


This may come as a break in the unusual way you paint your war gaming miniatures, and requires an adjustment in the thought process of how you colour your model. There is no substitute for practice, so try this first on a test model, then adjust the process as you see fit. 


Stage 1: Basecoat

Basecoat black and dust white (dusting is a technique where you spray the model with white primer at a 45 degree angle on top of a black basecoat: I will cover this in a future tutorial). 

Method: VMC Light Turquoise, Citadel Dark Angels Green, VMC Oily Steel (60:10:40)

Make sure this coat is even and consistent. 


Stage 2: 1st highlight

Highlight all armour plates with mixture given above but with a touch more oily steel, leaving the recess between the plates. This enforces the silver pigment, and the recesses will become more pronounced when we start to shade him.


Stage 3: Glaze

Wash entire model with:

Citadel Asrumen Blue, Citadel Dark Angels Green, Citadel Black Ink (80:15:5). 

I added VMC Glaze Medium to help break up the Dark Angels Green, but Thrakka green would work just as well. I only used it because I had some green left over from the last stage. Don't use too much black as this would really make the model look dull.


Stage 4: Final Highlight.

Add Citadel Mithril silver to the first mixture of:

Method: VMC Light Turquoise, Citadel Dark Angels Green, VMC Oily Steel (60:10:40)

and start highlighting the plates as you would a normal model. Introduce more mithril silver until you are highlighting with pure mithril silver. 

NO MORE HIGHLIGHTS!


Stage 5: Shading.
I wash the armour 4-5 times with:

Citadel Asrumen Blue and Citadel Tharkka Green (80:20) or with pure Asrumen blue of Thrakka green.

Be selective with the area's you choose to shade, do not blindly wash the entire model. Start shading the model from the recess' of the armour and 'dragging' the wash with your brush to the extreme edges of the armour.

Do not shade the extreme edges and after a few shades, you will see that your model is taking shape. 


Stage 6: Black Lining.

I found that I could not get a satisfying contrast between the armour plates using blue and green washes alone. So, for the very deepest recess', I used black ink mixed with the above washes, then an extreme shadow of pure black ink to separate the armour plates.  


And here is the finished product:


A brief note on the purple: It may look rather unusual because of the metallic colour itself. In some light the model is bluer, in others, it appears slightly greener. Underneath my daylight bulb the model appears greener (out of interest, what colour would you say this model is?).


If we take a quick look at the colour wheel we can see that green is further away from purple, than blue is. Underneath my daylight bulb the purple contrasts the colour more than it would be when the model was viewed underneath another light.

I have also used this purple inspired by the front cover of the Dark Eldar book.


Give it a whirl, try different colours and experiment. If you have found this useful, or better yet tried this out on your own model, please get in touch. I'd love to hear your thoughts and see your pictures. 

All the best, 

LilLoser